Splints
Dental or Orthodontic Splints are devices that are used when patients suffer from certain types of dental problems such as TMJ problems or chronic headaches. In orthodontics, a “splint” is designed to fit on top of the upper or lower teeth. An Occlusal Splint (also called a bite splint, bite plane, or night guard) is a removable dental appliance carefully molded to fit the upper or lower arches of teeth worn to reduce the amount of grinding pressure transferred to the teeth.
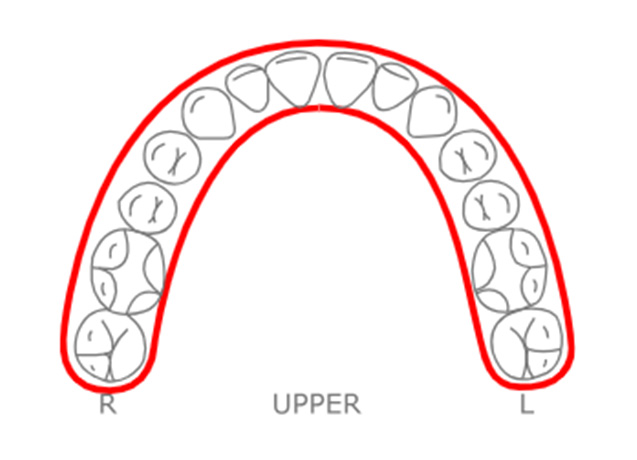
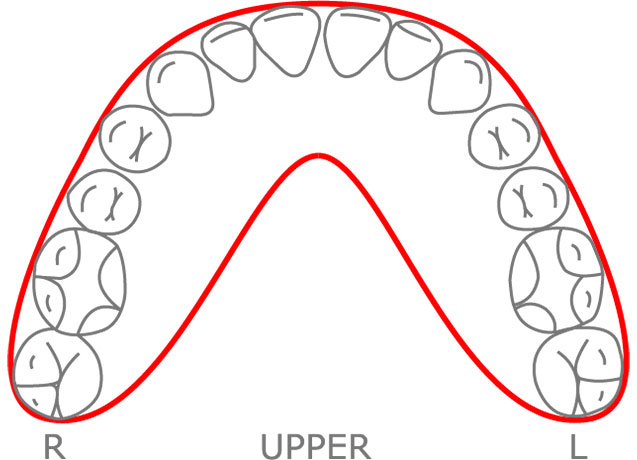
Type SP112 - Upper Thermal Plastic Flat Occlusal Splint (3D printed)
- Full occlusal coverage (Thermal Plastic base and a hard Cold Cure for the Occlusal Surface)
- Cap 1/2 of the facial of the anterior teeth
- Acrylic extended to the most distal tooth
- Posterior buccal acrylic contoured to the gingival margin
- Lingual acrylic extended 2 mm below the gingival margin
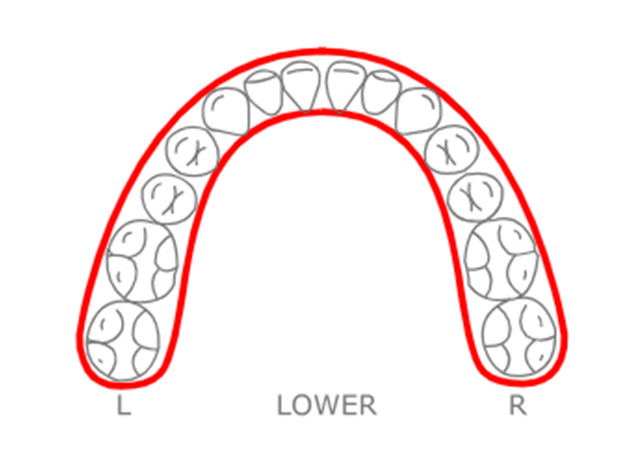
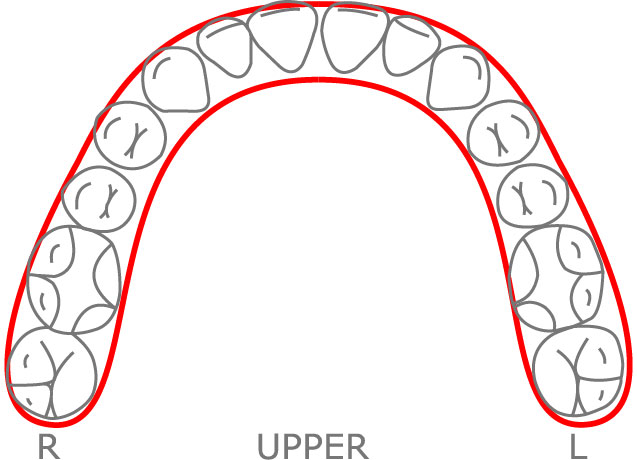
Type SP115 - Lower Thermal Plastic Flat Occlusal Splint (3D printed)
- Full occlusal coverage (Thermal Plastic base and a hard Cold Cure for the Occlusal Surface)
- Cap 1/2 of the facial of the anterior teeth
- Acrylic extended to the most distal tooth
- Posterior buccal acrylic contoured to the gingival margin
- Lingual acrylic extended 2 mm below the gingival margin
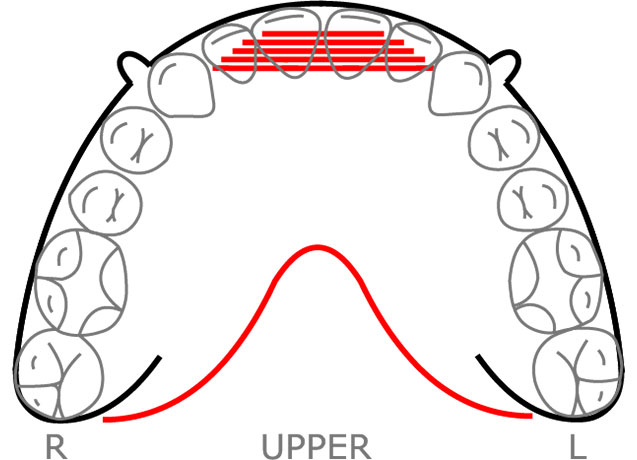
Type SP210 - Gelb Splint
- 1mm Overlay Splint
- Deprogrammer added to Anterior
- Acrylic extended to the most distal tooth
Type SP310 - NTI Deprogrammer
- 1mm plastic overlay
- Anterior bite plate
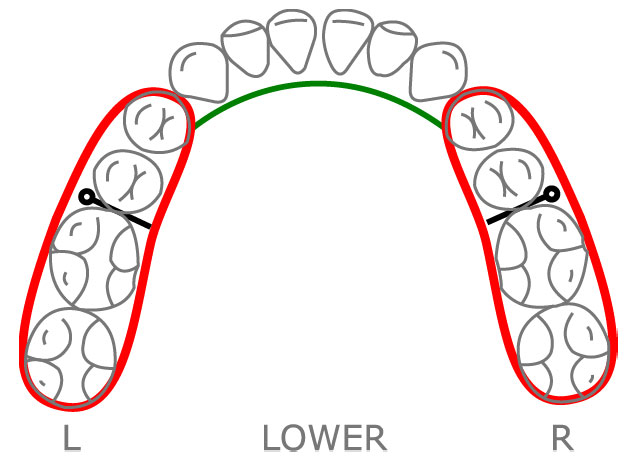
Type SP320 - Kois Deprogrammer
- Acylic Plate
- Wraparound labial arch around the 2nd molars
- Kois bite plate
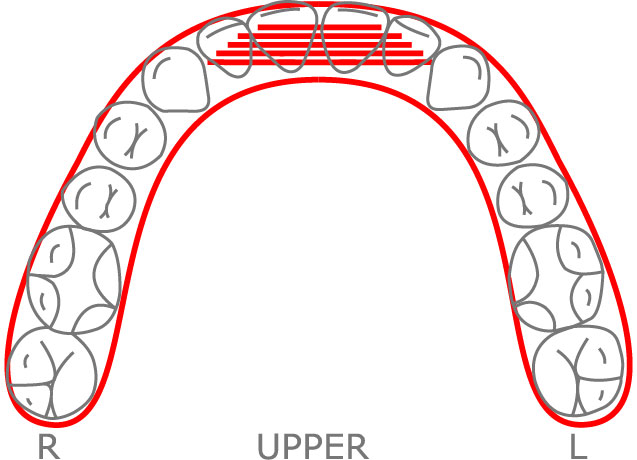
Type SP420 - Custom Bleaching Tray
- Overlay 1mm mouthguard material
- Please Specify if you want block out for bleaching material
Mouthguards
Sports guards, mouth guards and mouth protectors are different names for the same thing: a device worn over your teeth that protects them from blows to the face and head. Mouth guards are an important piece of athletic equipment for anyone participating in a sport that involves falls, body contact or flying equipment.
Type MG521 - Athletic Mouthguard
- 4mm rubber
Type MG522 - Athletic Mouthguard with Strap
- 4mm rubber
- Helmet strap

Type MG525 - Custom Athletic Mouthguard
- 4mm rubber
- 1mm rubber over design